
One evening at church one of the ladies mentioned that you could bottle butter and store it for 3 year. I hadn’t seen so many women interested in a comment about preserving food in a long tim. I received the instructions from her and have been bottling butter for my food storage ever since.
Items you need:
12 – 8 oz. jelly jars, lids, and rings (clean and sanitize bottle prior to bottling butter)
5–¼ pounds butter or margarine (5 pounds + 1 stick)
1 cookie sheet (optional)
1 cooling rack (optional)
Getting started:
Sterilize your jars and lids. (I wash my jars in the dishwasher on the sanitize setting and boil my lids like normal. I am into machines doing most of the work.)
Place your twelve jars on a cookie sheet. (This makes it much easier to handle the jars; instead of putting the jars in the oven and then taking them out individually.)
Preheat oven to 225°F.
Phase One:

Open up twelve sticks of butter and cut each stick into two – three tablespoons sections and one – two tablespoons section.


Drop the two – three tablespoons sections in the bottom of the jar length wise.

Then very carefully place the one – two tablespoons section in the middle on top. The butter will stick up a little above the rim.

(Do this with all twelve jars.)

Put your jars in the oven at 225°F for 15 to 20 minutes.

(If you placed your butter in the jars carefully, the butter will melt evenly down into the jar with out making any mess.)
Phase Two:

While your butter is melting in the oven, open up the remainder nine sticks of butter and cut each stick the same way you did before (two – three tablespoons sections and one – two tablespoons section).


After the butter has melted in the jar, take the jars out of the oven. I place them on a cooling rack.

Now here is where math helps. In nine of the jars drop in two – three tablespoons sections.

In three of the jars drop in three – two tablespoons sections.

(This is ¾ stick of butter in each jar.) The butter should fit easily into the jar, make sure it is slightly below the rim level.


Prior to putting on the lids, ensure that the rims are clean of any butter.


Place the lid on each jar.


Screw on the ring, finger tight. You are putting the ring on just to keep the lid in place.


Put the jars back into the oven for 45 minutes at 225°F.

The butter will separate into its solids and liquids. The solids will be the lighter opaque substance at the bottom of the jar
Take the jars out of the oven. I place them back on the cooling rack. Let the jars cool. In a couple of minutes you will here the sound of popping when the jars seal. (I love that sound.)
The Finish:

After the jars have cool down, I double check all the jars have sealed. All the lids should be concaved.
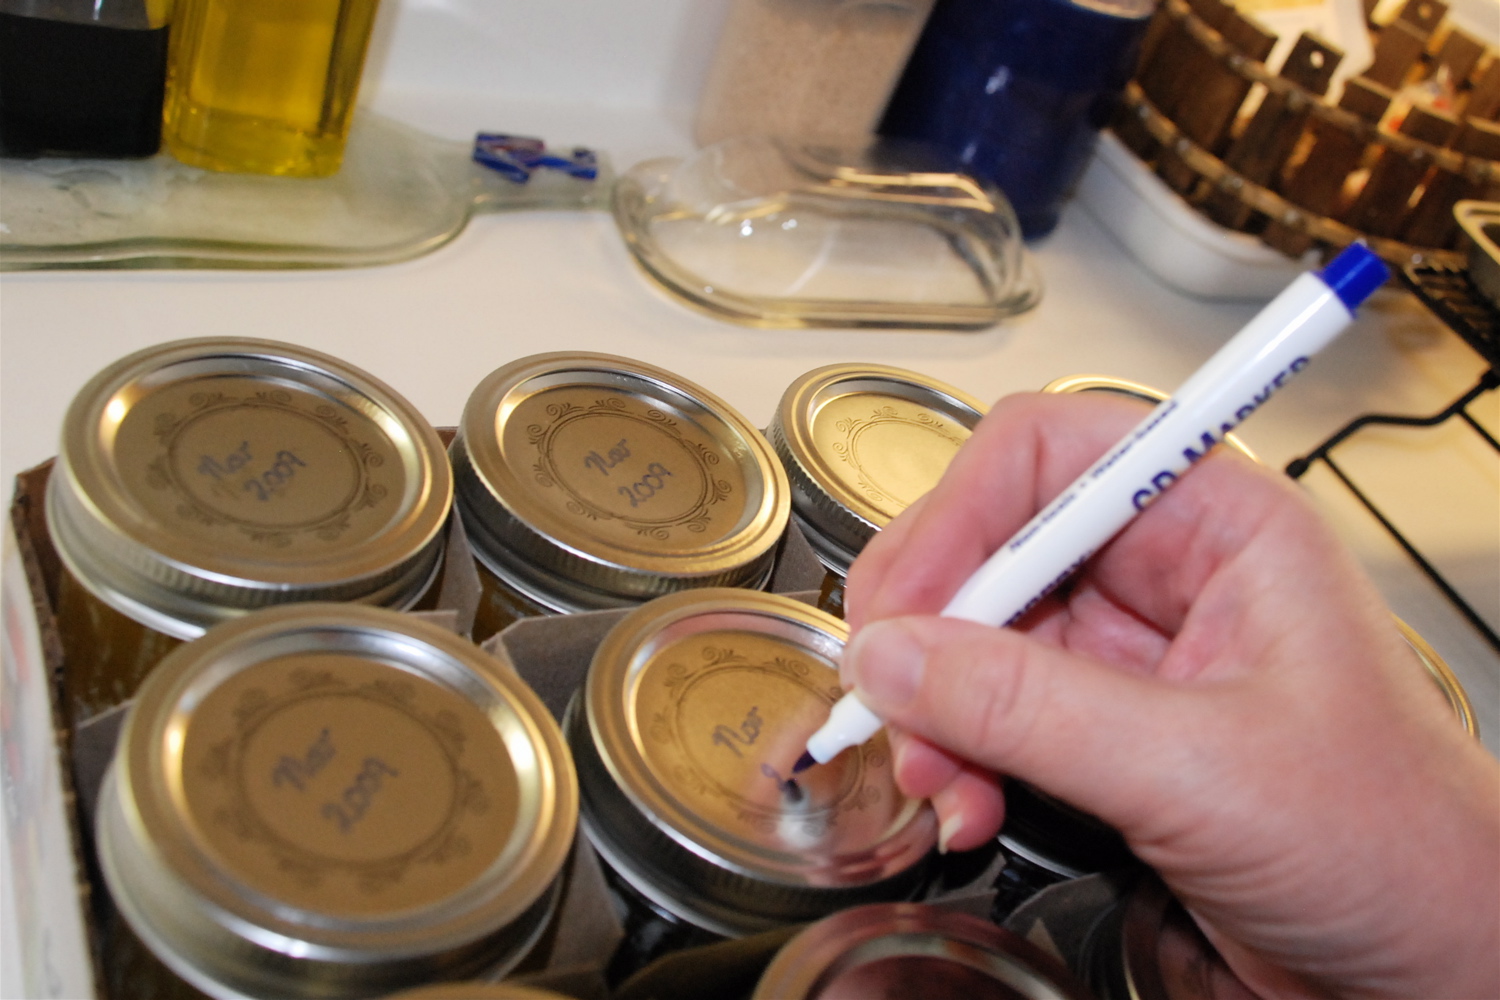
Tighten the rings on the jar and write the date on the top of the jar. The butter is good for three years.
Now You Have Butter in Your food Storage

When you open the butter you will have to stir the solids back into the liquids. If you used butter with salt, you will find the salt crystals are larger. When you eat the butter, you will be able to feel the salt crystals in your mouth. If you cook with this butter, you will not find any difference. This butter will not go back into a solid when you put it in the refrigerator; it will stay in a creamy state.
I am told you can do the same thing with margarine, but I haven’t tried it.
